Mastering Piano Shots: Top Camera Angles for Music Video
When you’re filming a pianist, you’re not just capturing a performer—you’re telling a musical story. The camera angle can change the mood, highlight technique, or reveal the instrument’s architecture. Mastering piano shots is less about fancy equipment and more about choosing the right perspective. In this guide, we’ll walk through the most effective angles, explain why they work, and give practical tips for setting them up.
Mastering Piano Shots: Choosing the Right Angles
Every piano performance deserves a visual identity. The best camera angles bring out the music’s texture and the player’s personality. Below are five foundational shots that every editor should know, each paired with a quick “setup checklist” so you can hit the ground running.
- Top‑Down (Aerial) View – captures hand movement, key patterns, and rhythmic phrasing.
- Eye‑Level, Mid‑Range Shot – focuses on facial expression and body language.
- Side Profile (Over‑Hand) Shot – showcases the pianist’s arm dynamics and posture.
- Close‑Up of Hands – details technique, fingering, and subtle nuances.
- Wide Angle of the Entire Scene – establishes the setting and context.
1. Top‑Down View: The Blueprint of Rhythm
Positioning the camera directly above the keyboard offers a clear view of every keystroke. It’s perfect for instructional videos or pieces where the technical flow matters. Keep the lens steady with a tripod or a gimbal. If you’re using a DSLR, set a high aperture (f/8‑f/11) to ensure the entire piano surface stays in focus.
Setup checklist:
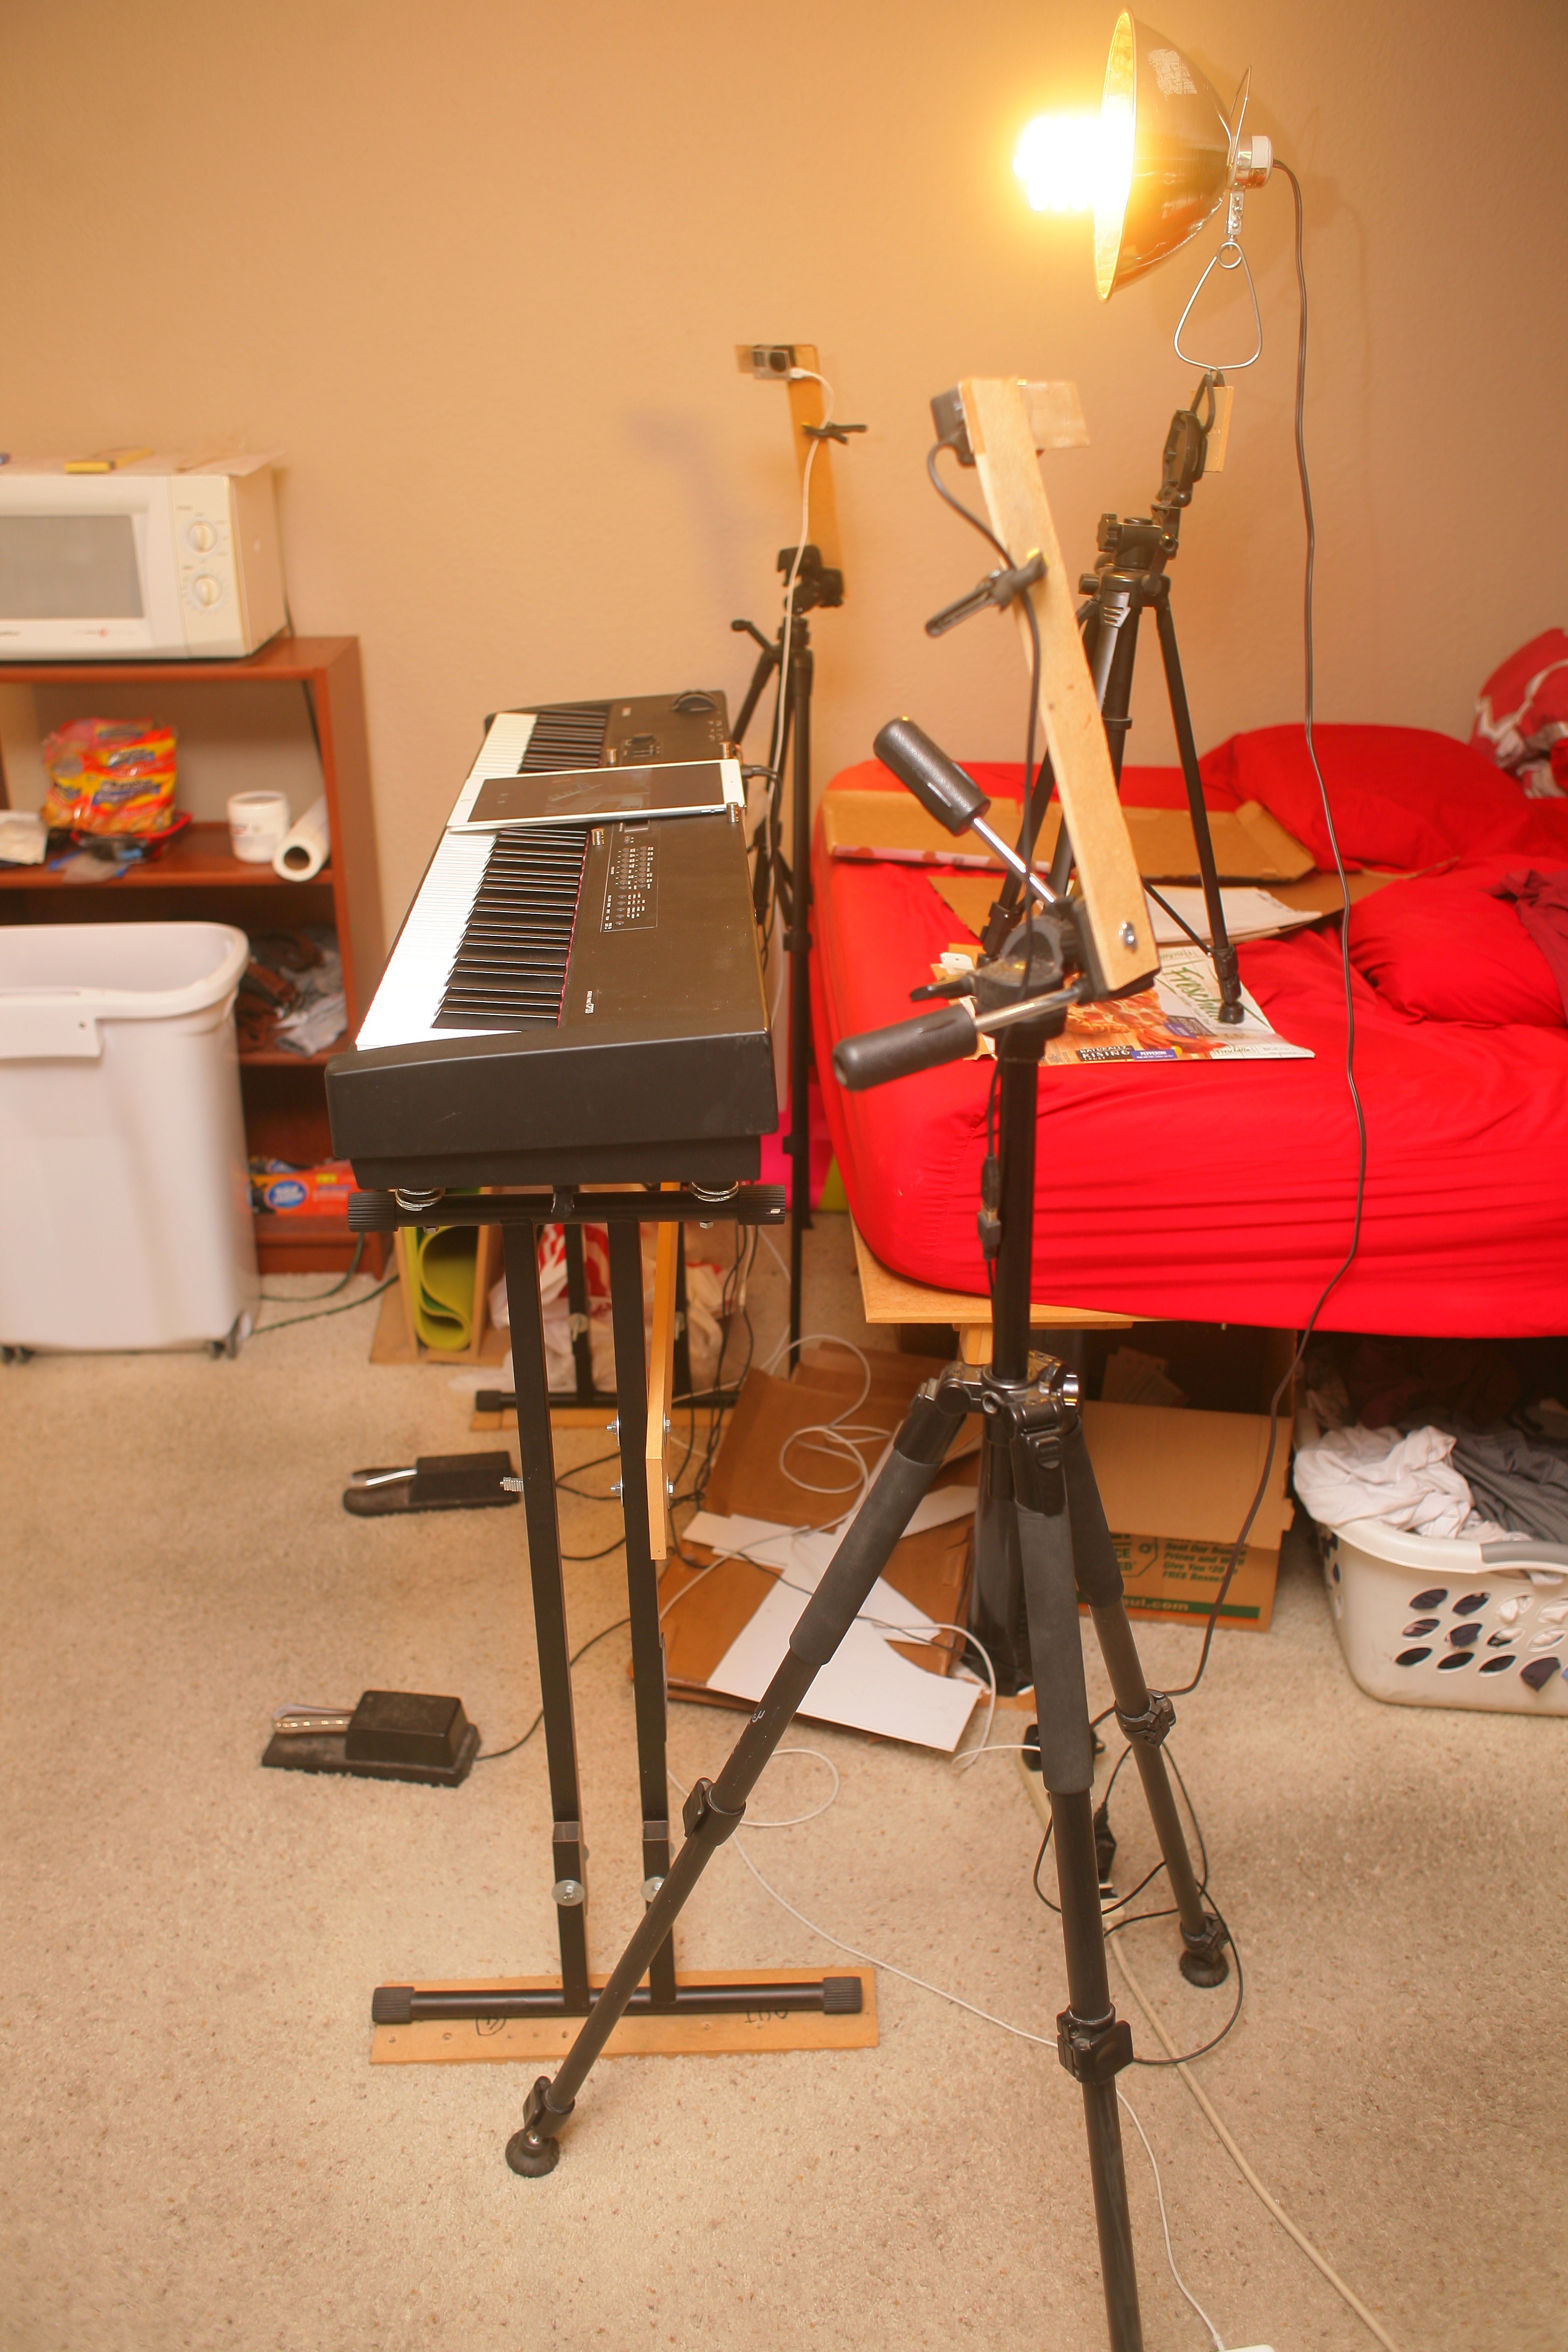
- Camera on a sturdy tripod or overhead rig.
- Lens: 35mm or 50mm prime for a natural look.
- Lighting: Soft, diffused light from above to reduce harsh shadows.
- Optional: Use a polarizing filter to cut glare on the polished wood.
2. Eye‑Level, Mid‑Range Shot: The Performer’s Window
This is the classic “performance” shot. It captures the pianist’s facial expressions, the instrument’s visual cues, and the immediate environment. The camera should sit between the player’s torso and the piano, slightly below eye level to give a subtle sense of depth. A shallow depth of field (f/2.8‑f/4) blurs the background, keeping attention on the performer.
Setup checklist:
- Camera at eye height, 1.5–2 meters from the pianist.
- Use a 24‑70mm zoom to adjust framing quickly.
- Lighting: Key light from the side to highlight the pianist’s face, with a fill light to soften shadows.
- Audio: Consider using a lapel mic or a small condenser mic close to the keyboard.
3. Side Profile (Over‑Hand) Shot: The Art of Motion
Position the camera to the side, just above the player’s shoulders. This angle reveals the mechanics of hand movement and arm posture, letting the audience see the flow of fingers across the keys. It’s especially effective for pieces with dramatic dynamic shifts.
Setup checklist:
- Camera 45° to the side, slightly above head level.
- Lens: 50mm prime for crisp detail.
- Use a reflector to bounce light onto the pianist’s hand side.
- Adjust the focus ring to keep the hand in sharp focus while allowing the background to soften.
4. Close‑Up of Hands: The Fingerprints of Music
Zoom in on the hands for a granular look at fingering, hand positioning, and micro‑expressions. This is ideal for solos or technical passages where the visual details can complement the audio. A macro lens (50‑100mm) gives you a tight frame, but be careful of distortion.
Setup checklist:
- Use a macro lens or a close‑up attachment.
- Keep the camera very steady—use a tripod and a remote trigger.
- Lighting: Two softboxes angled to the hands to avoid glare.
- Consider a slight tilt in the camera to capture the keyboard’s curvature.
5. Wide Angle of the Entire Scene: Setting the Stage
A wide shot anchors the viewer in the space, revealing the piano’s relationship to the room, décor, and any other performers or instruments. Use this when you need to convey the ambiance or when multiple musicians share the screen.
Setup checklist:
- Camera 3–4 meters from the piano, at a slight elevation.
- Use a 24‑35mm lens for a natural perspective.
- Lighting: Fill with ambient light to capture the room’s character.
- Compose to avoid harsh edges and keep the piano centered.